The home office journal / Practical decisions
A screen light and webcam need a shared placement plan
Check the camera view, screen movement and actual light attachment before placing multiple accessories around the top of a monitor.
By Office Home Supply editorial · Updated 2026-10-11 · 3 minute read
Assign a place to each device
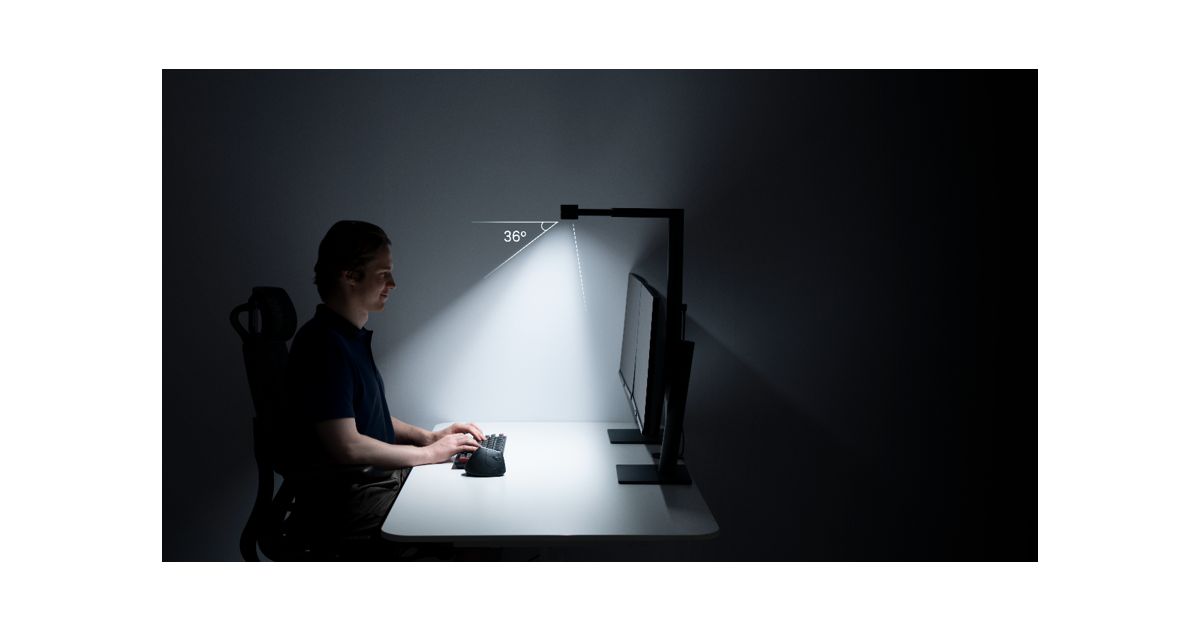
A webcam and a light may both appear to belong above the screen, but they do different jobs and may use different attachments. Start with the exact camera, light and monitor. Note whether the light clips to the monitor or attaches to the desk. ScreenBar Max, for example, uses a desk clamp or an optional base, so its installation should not be planned as a monitor-mounted clip. The manufacturer's instructions restrict its clamp to a desk.
Draw the camera's working view
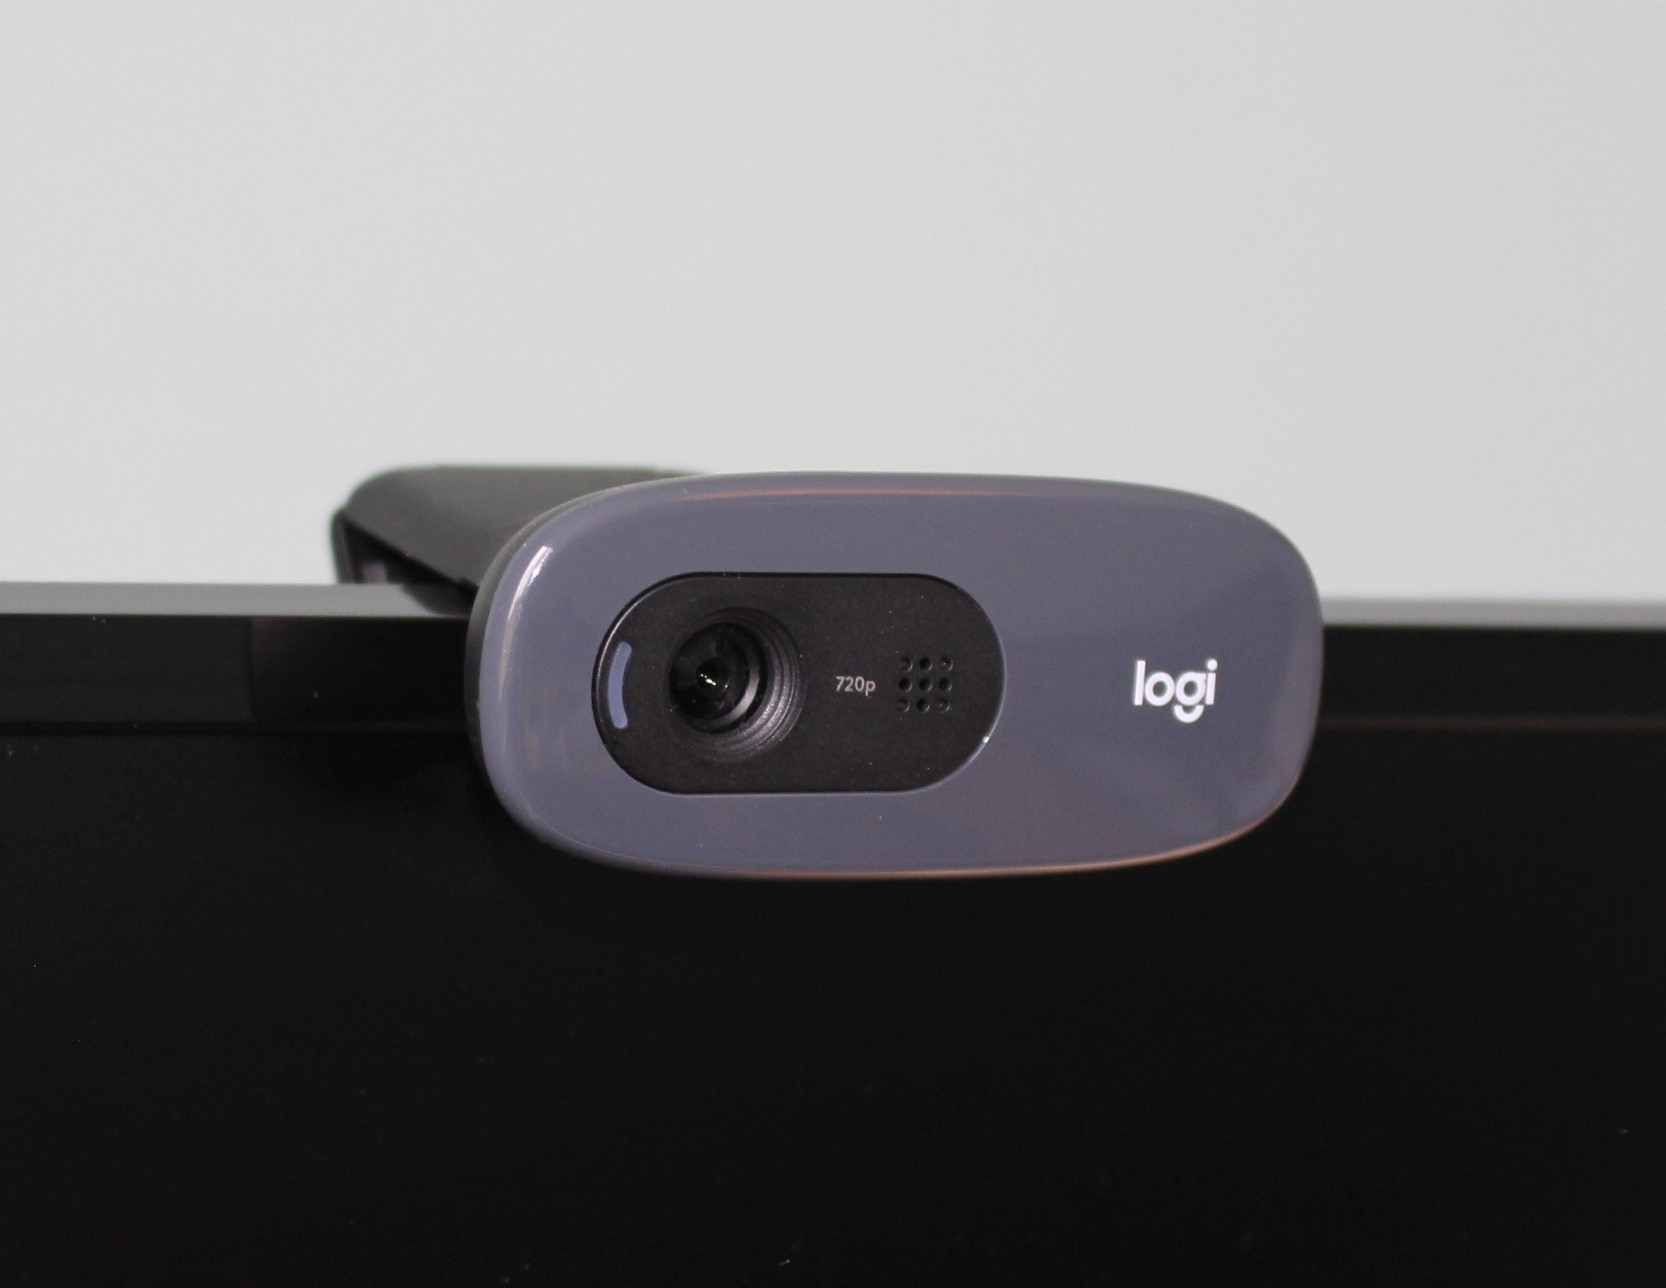
Place the camera in the location you intend to use and inspect its application preview. Mark whether the light body, monitor edge or a nearby shelf enters the view. Consider the position needed for a normal call rather than the widest possible camera angle. Do not assume that moving the camera higher improves every call; the preview lets you evaluate framing with your actual chair and screen position.
Draw the light's working area
Mark the keyboard, document and other surface area that needs illumination. Check whether moving the lamp to make space for the webcam also moves the lit area away from that task. BenQ publishes ScreenBar Max coverage for a stated illuminance threshold and setup height. Those figures are a manufacturer reference rather than proof of coverage at every height or on every desk. Keep desk depth and the selected position in the comparison record.
Check motion and attachment separately
If the monitor moves on an arm, inspect its intended positions alongside the camera and light. A desk-attached light remains attached to the desk as the screen moves. A camera clipped to the monitor moves with it. Include cable slack and any collisions at the nearest, farthest and highest intended positions. A shared desk also needs the arrangement checked for each user rather than for one attractive fixed position.
Keep power requirements exact
ScreenBar Max uses its supplied adapter and dedicated connector; BenQ says it cannot be powered from a USB-C port. A nearby cable with a similar appearance is not evidence of compatible power. Record the actual adapter, outlet location and cable path in the shopping plan. Confirm what the selected package includes and whether the optional base is required for your arrangement. Do not copy a power assumption from a different ScreenBar model.
Test the routine after placement
Check the camera preview with normal daylight and room lighting, then read and write at the desk. If camera lighting is the remaining issue, describe it separately from paper-task illumination. Use the lighting category and call-upgrade guide to select the next meaningful change. Office Home Supply has not measured this combined arrangement's camera exposure or lighting performance. The placement plan keeps independent requirements visible before one accessory forces another into an unusable position.
Sources & further reading
Original planning analysis based on the cited specifications. We do not claim hands-on testing. Confirm manufacturer compatibility and follow the supplied instructions.